I was planning to go on a long trip on my bike, and I needed to bring luggage. The trip was long enough and I needed enough stuff that putting it all in a backpack wasn’t doable.
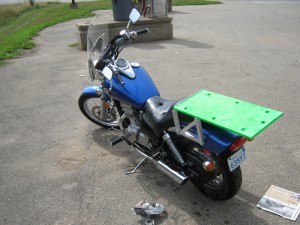
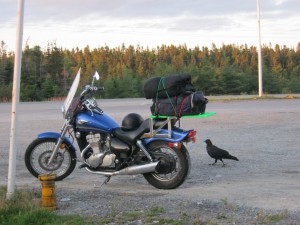
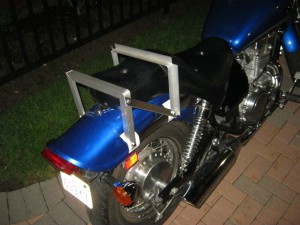
I shopped around for such a rack but didn’t find anything at a price I was willing to pay, so I built one myself. It was really a piece of cake, anyone can do it with just basic tools. Here’s the result (it was dark when I finished it so this is the best photo I have):
It held up for over 6000km of rain and shine, highway and gravel, so structurally the design is sound, and the colour you can pick yourself :)
Materials:
- 1×1 aluminum angle from home depot
- The same or 1×1/4 metal angle for the cross-bars
- A piece of plywood
- 6 bolts with nuts
- Primer intended for wet surfaces
- Paint
Tools:
- Mitre box
- Clamps
- Hack saw
- Wood saw if your wood isn’t the right size
- Drill
- Power sander
- Paint brush
Step1: measure
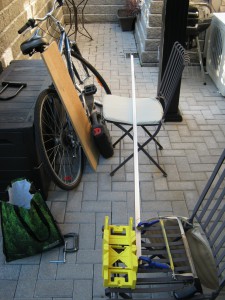
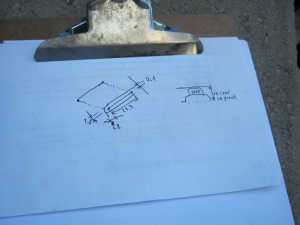
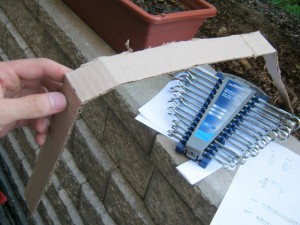
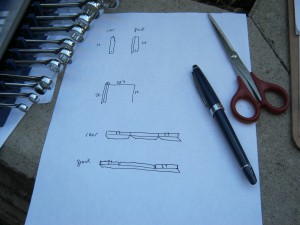
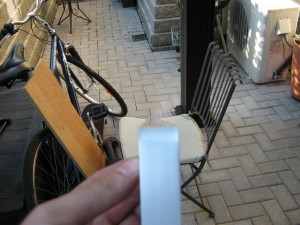
Whatever you decide to do – remember the rule about measuring seven times and cutting once. This was my plan, I used the cardboard piece as a measuring helper:
Step 2: front bracket
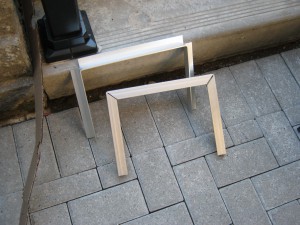
There are two main pieces to the structure: the rectangle-shaped supports. The two are not the same, this following one I used for the rear:
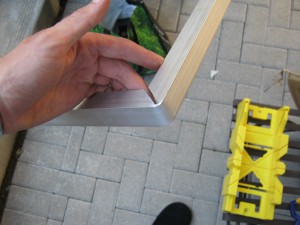
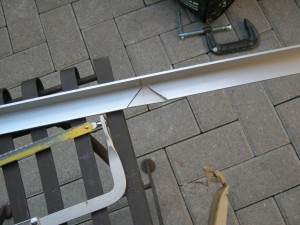
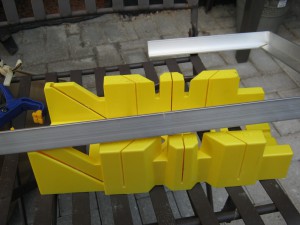
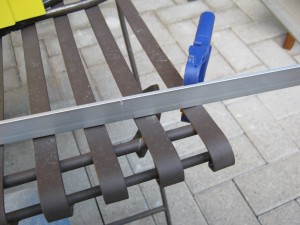
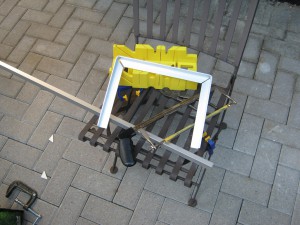
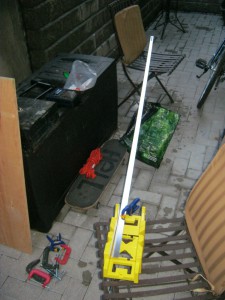
You have to be careful cutting stuff with the mitre box – best to draw a line for your cut, just to make sure you’re using the correct slot. When doing the two cuts making a V – make sure to leave a bit of room, so the two cuts don’t touch. Maybe just a bit less room than I left.
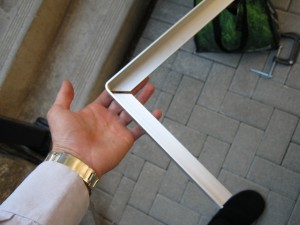
Then you bend it by hand. The aluminum is definitely breakable, so bend it slowly and only do it once. If you have to unbend it – it will probably break off. Luckily the cut you made will guide the bend so this is not hard to do properly.
Step 3: rear bracket
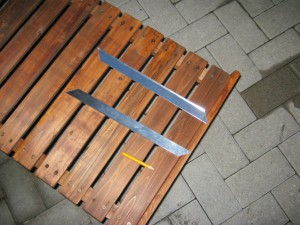
The rear piece is much simpler, two 90-degree cuts instead of four 45-degree ones. here they both are:
Step 4: triangles
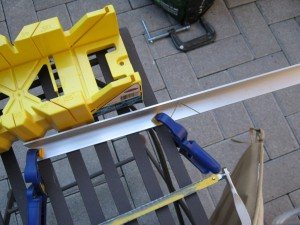
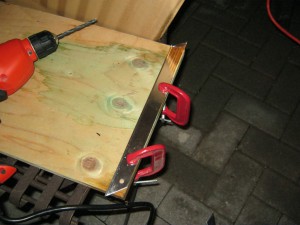
In order to have it solid like a rock – you need to make triangles. So these two rails are almost enough but not quite. Together with the bike frame and the wood they make a rectangle, so we just have to add a diagonal line. (in the photo below it’s clamped to the wood just to help me make a nice hole):
Step 5: platform
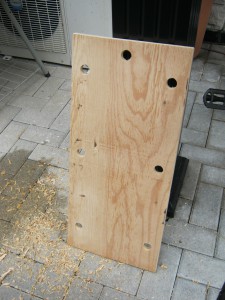
If I had a grinder I would have rounded the corners. I was worried that they would rip a bag or clothes, but I got lucky and they didn’t. Now for the platform:
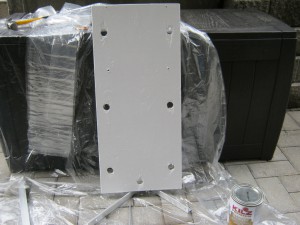
I drilled the holes wherever I felt like, but after tying the bags to it with bungee cords I realised I should have measured the distance between the hole and the edge of the board based on the size of the hooks on the ends of the bungee cords. Still, this worked.
I knew it would get rained on a lot, and given that it’s plywood I didn’t trust it to stay together after that. So I bought the most water resistant primer I could find, sanded the plywood really well, and put 3 coats on. After it was dry I painted it from a spray can, but you can use any kind of paint.
That’s it! My bags were heavy but not too heavy so this setup worked. If I wanted to put much heavier bags on – I would have added another triangle behind the rear bracket, to make sure the plywood doesn’t crack.

